Disclosure: This post may contain affiliate links, meaning I get a commission if you decide to make a purchase through my links, at no extra cost to you.
Changing a bit on a Dremel can be surprisingly confusing when doing it for the first time. I remember when I first started using the Dremel a bit came shooting at me because I did not tighten the chuck properly. Thankfully it didn’t hit me, but it could have ended badly. So let me help you NOT make the same mistakes that I did.
To change a Dremel bit you have to unplug the Dremel from the power source, locate and hold down the spindle lock button, loosen the nut by turning it counterclockwise, remove the old Dremel bit, insert the new Dremel bit, locate and press the lock button, tighten the nut by turning it with the clock, and plug in the Dremel.
In this article, I will go through step by step how to change a Dremel bit properly. The article will go into a little bit more detail than the video will, and I will discuss more the surrounding topic of some problems you may encounter when changing bits
If you just want to know how to change Dremel bits as fast as possible. Watch the video.
1. Unplug Dremel From Power Source

I always unplug the Dremel from the power source before changing the Dremel bit. This is done to avoid accidentally turning on the Dremel while changing bits. If it turns on while you have your hands so close up to the rotating bit it can seriously damage your hands.
2. Locate And Hold The Spindle Lock Button

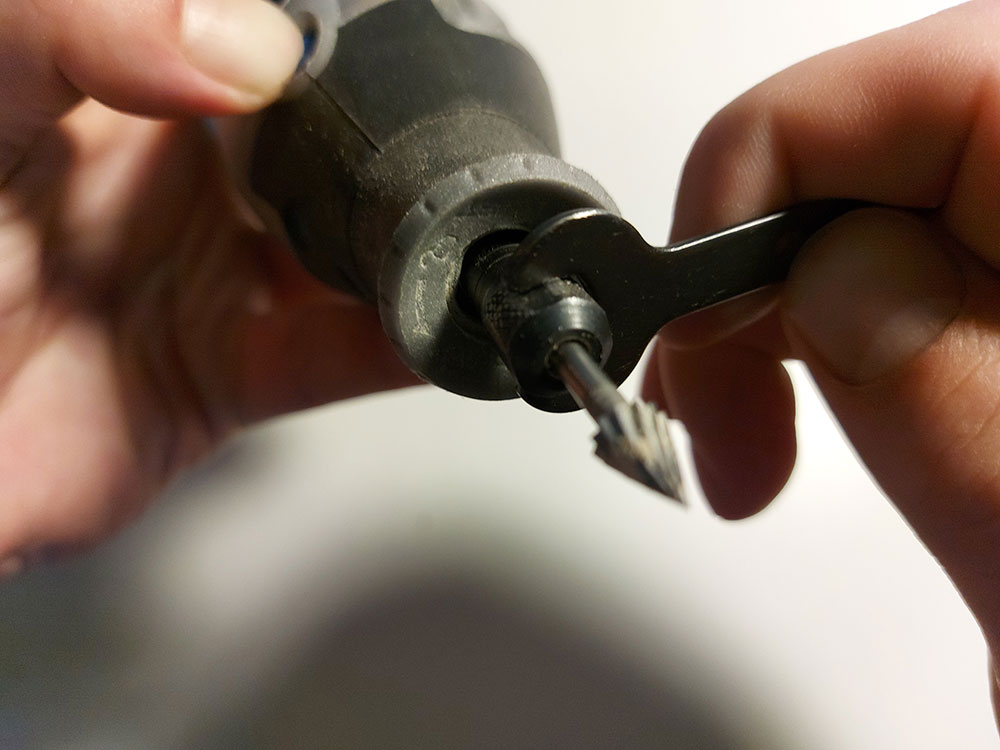
The spindle lock button on the Dremel is usually blue and is placed to the front of the tool, close to the bit. You need to hold this down to lock the spindle in place so that the tool will stop turning. When you do this you are able to leverage the nut instead of just turning endlessly turning around the tool. On the flex shaft, the spindle lock button is a gray metal button.
3. Loosen The Nut By Turning It Counterclockwise

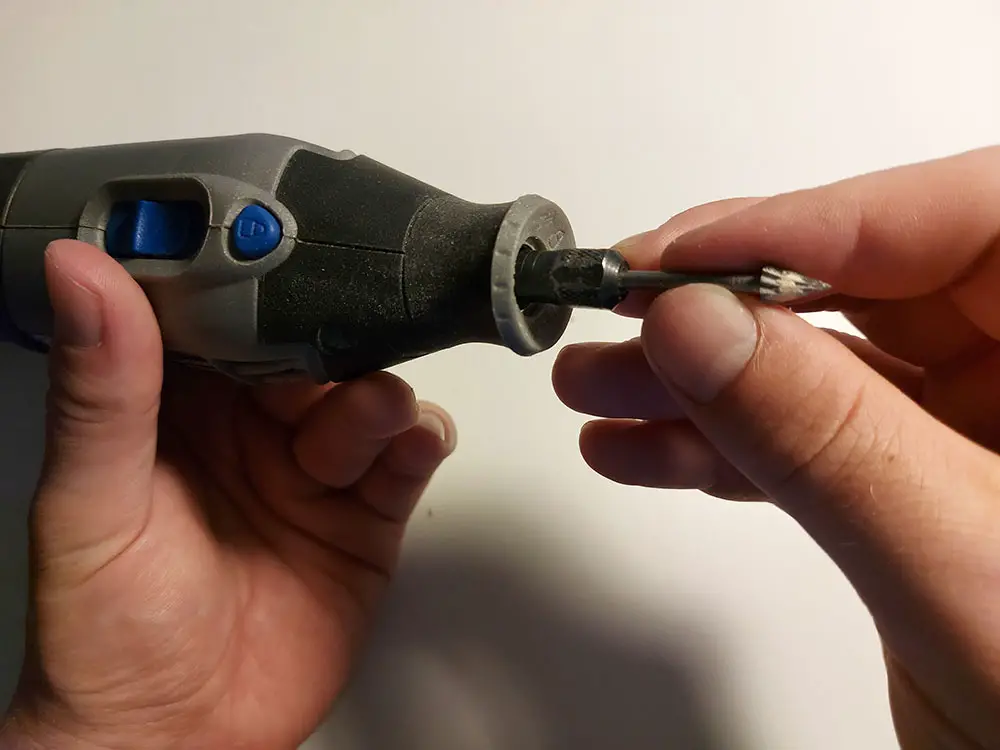
While holding down the spindle lock button, start turning the black nut that secures the bit counterclockwise. You might have to use a little bit of leverage for the nut to let go. When you have loosened the nut a little bit you can try to get the bit out. If it can not be pulled out try loosening the nut more with your hand.
4. Remove Old Dremel Bit

When the nut is loose enough, you can remove the Dremel bit. Sometimes the bit can seem stuck, just try to knock a few times on the nut with something hard and the bit will come out.
5.Insert New Dremel Bit
Nothing fancy here. Just insert the new bit. But make sure the shank size of the bit is the same as the one you removed. Most official Dremel bits have a 1/8-inch (3.2mm) shank size. If the shank size is smaller you will have to change the collet as well, or the bit will not be held in place. I explain more about collets at step 9 where I list some common problems while changing Dremel bits.
6. Locate And Hold Spindle Lock Button

We have already gotten to know the spindle lock button We need to tighten the Dremel bit that we just placed in the collet. So hold the spindle lock button down to lock the spindle and keep it from rotating while doing the next step.
7. Tighten The Nut By Turning It With The Clock
Tighten the nut so that the bit is held in place. Tighten enough to where you feel a decent amount of resistance. But do not use too much force when tightening the nut, it will not keep the bit anymore from getting loose and you will just make it harder for you when you want to change the bit next time.
8. Plug in the Dremel

The bit is now changed and the Dremel is ready to use. So plug in the Dremel and turn the power on a go at it.
9. Problems While Changing Bits
Sometimes changing bits do not always go as planned. The bit can get stuck in the collet, the bit will not fit or the spindle lock button will not let itself be locked down.
Let me go through some common problems that can occur while changing Dremel bits.
Problem 1: Dremel Bit Stuck in Collet or Nut
Sometimes when using a Dremel the bit will get stuck. To remove a stuck bit from the collet or nut just hit the nut with something heavy hard like a hammer. This will release the bit and unjam it.
Problem 2: Dremel collet is stuck inside the nut
The gray collet which sits on the inside can get stuck in the nut. Bits will not fit inside the collet when this happens, since the collet will always be jammed at its smallest size. The fix is to remove the nut and the collet entirely from the Dremel and press the collet out from the nut with the shank of a Dremel bit.
Problem 3: Bit does not fit inside Dremel
If the bit does not fit inside the Dremel you are probably using the wrong collet size in relation to the shank size of the bit. Most Dremel bits have a shank size of 1/8-inches ( 3.2mm) but you can also get shank sizes in 3/32-inches (2.4mm), 1/16-inches (1.6mm), and 1/32-inches (0.8mm). Bits with a larger shank size than 1/8-inches (3.2mm) can not be used in a Dremel. If you are experiencing that the bit doesn’t fit, try looking in your bit kit if you have some other collets that you can use. Most bit sets are usually provided with more than one collet.
10. Tips When Changing Dremel Bits
What bit size does the Dremel Use?
Most Dremel bits have a shank size of 1/8-inches ( 3.2mm) but you can also get shank sizes in 3/32-inches (2.4mm), 1/16-inches (1.6mm), and 1/32-inches (0.8mm). Bits with a larger shank size than 1/8-inches (3.2mm) can not be used in a Dremel.
Consider buying the Dremel Multi Chuck
I am about to give you a tip that makes this whole article useless. If you do not want to deal with using a wrench when changing bits or having to change collet sizes all the time you should get the Dremel Multi Chuck. It is a relatively inexpensive chuck that can hold all different sizes of bits and shank sizes. Without using a wrench or changing collets.
It will save you a couple of seconds every time you change a bit and you will never have to look for that tiny wrench again. So yeah, go buy that if you want your Dremel life to be a little bit simpler. I’ll leave a link underneath.

Here Are My Favorite Dremel Tools, Bits, And Attachments:
Recommended Dremel: The Dremel 4000 with Flex Shaft is the Dremel I recommend. It is a little bit more expensive than the Dremel 3000 but the powerful 1.6 amp motor of the Dremel 4000 is worth the extra money.
Affordable Dremel: The Dremel 3000 is an affordable option and is a good Dremel to buy as well. Just know that it comes with a little less power and runs at a little bit lower RPMs
First Accessory: The Quick Change Chuck is the first accessory I would get for the Dremel. This makes it so much quicker and easier to change bits.