You do not need a printer to transfer patterns onto a piece of wood. This can be done easily and cheaply with the two simple methods I am about to show you. Before going into detail on these different methods, here is the quick version.
The most common method of transferring a pattern to wood is by tracing the pattern while it sits on top of graphite paper and wood. The graphite will leave a visible marking on the wood, and we are now able to work directly with the pattern on the wood. Whether that would be wood carving, woodburning, and so on.
Using graphite paper is a great method for transferring patterns to wood. But there is another cheaper alternative where we use baking paper or parchment paper to trace the pattern. This method is great because most people already have some baking paper lying around the house.
I will show you how to do both methods in this article.
Transfer A Pattern To Wood With Graphite Pape
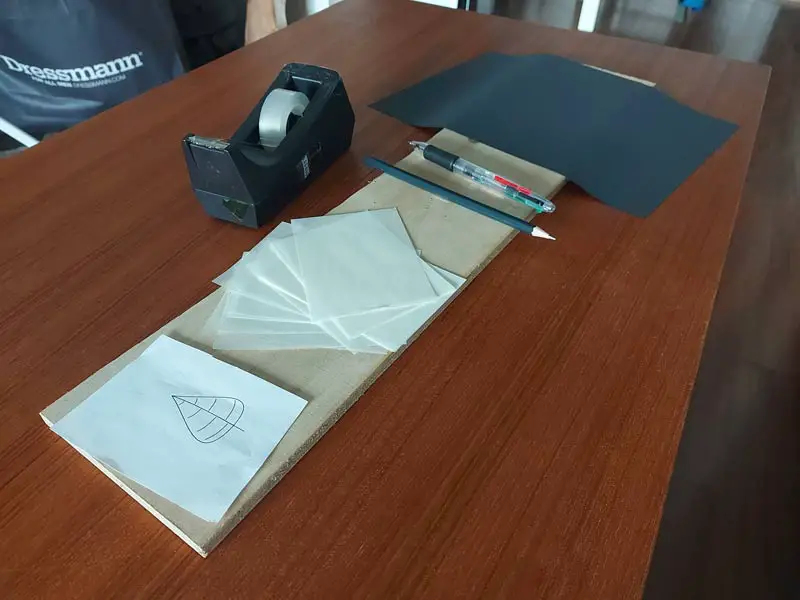
1. Acquire Graphite Paper, Tape, Wood, Something to Trace With, And a Pattern
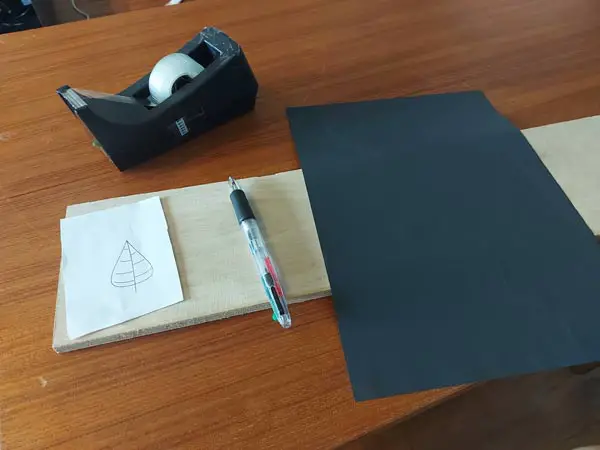
Before we start, we need to make sure we have all the things we need to transfer the pattern to the wood. We are going to be tracing over the pattern with the graphite paper between the wood and the pattern.
Graphite Paper – Graphite Paper is paper that is covered with graphite on one side of the paper. Graphite paper can be obtained on Amazon or any arts and crafts store.
Tape – Tape is used to tape the pattern down to the wood and to avoid it from moving. Normal scotch tape will work fine, but you can also use masking tape if you want to reduce stains from the tape.
Wood – Find a wood piece with a smooth surface to do the tracing. If the wood has a rough surface, it will be harder to make a clean transfer. Lighter-colored woods are also better because of the dark color the graphite leaves.
Something To Trace With – You can almost use anything pointy to trace the pattern. But I recommend using a strong colored pencil or a red ballpoint pen. This makes it easier to see what parts of the pattern you have already traced. If you are using a ballpoint pen, make sure not to use too much pressure as this will indent the wood.
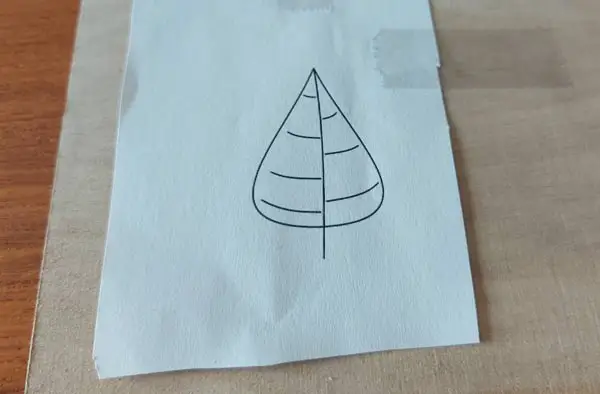
A Pattern – We also need the actual pattern we want to transfer. A printout or a drawing in the preferred size will work fine.
2. Tape The Pattern To The Wood
Line up the pattern to where you want to trace it onto the wood. If you are right-handed I recommend taping the top of the pattern paper and the right side. If you are left-handed, tape the top and the left side of the paper.
This way, the graphite paper will not be in your way when you are doing the tracing, and it will be more comfortable to work.
The tape should preferably go over the edge of the workpiece to make sure that it does not come off before you are finished tracing the pattern. If you have to retape in the middle of tracing it will be hard to find the exact position you were in.
You can also cut the graphite paper to match the size of the pattern. But this will be more wasteful as you can use the same graphite paper for tracing multiple patterns.
3. Put Graphite Paper Between The Wood And The Pattern
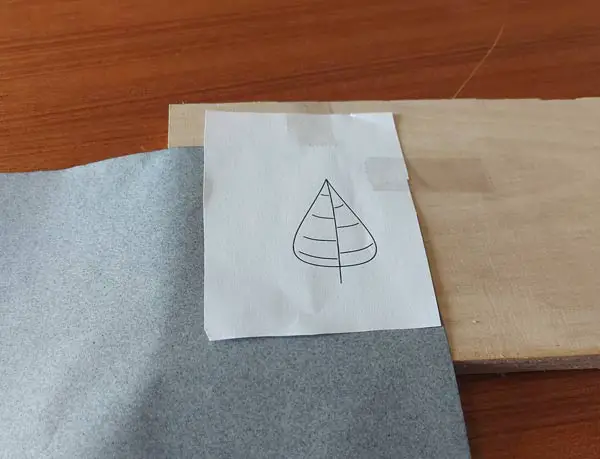
Place the graphite paper between the wood and the pattern with the graphite side of the paper facing down onto the wood. Make sure that the graphite paper covers the entire pattern.
The graphite paper can be moved and replaced while tracing, but try to keep this to a minimum. The more you move it, the easier it will be to also move the pattern.
While searching for graphite paper you will most likely come across something called carbon paper. Carbon paper is a little bit different from graphite paper.
Carbon paper is covered in a waxy layer and leaves a marking that is hard to erase. Graphite paper does not have this wax layer on it, and it can be easily erased. Graphite paper has a matte surface while carbon paper has a more glossy surface.
Carbon paper is a little bit cheaper when you look for it on Amazon. But I recommend using graphite paper because you have the ability to erase the lines and fix mistakes.
Check Out Graphite Paper On Amazon: Click Here
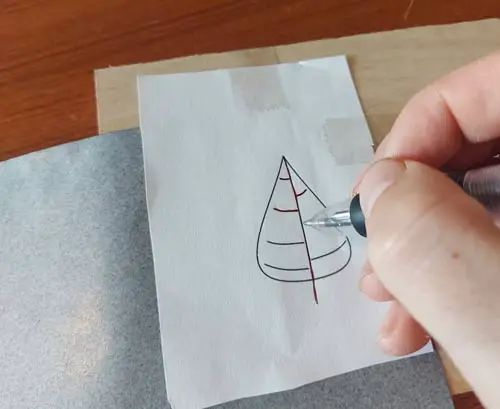
4. Start Tracing
Now everything is set up and we are ready to start tracing.
To make the end result as clean as possible it is best to use as few strokes as possible. Try to make long continuous strokes and do not go too much back and forth on the same lines.
The amount of pressure you use is also important, make strong firm lines with a little bit more pressure than you would normally use when making a drawing. If you use too much pressure it could make undesirable dents in the wood depending on how soft it is.
You will quickly learn the right amount of pressure to use after tracing a couple of times.
The bright color of the pencil/ballpoint pen will also come in handy at this point. It allows you to see what parts of the pattern you have already covered and what you have left.
5. Finishing Touches


After tracing the entire pattern you are ready to lift up the paper to see the results.
But before you remove the tape and the position of the pattern, you should remove the graphite paper and take a sneak peek underneath. If you can see that there are parts of the pattern that has not been traced then put the graphite paper back under the pattern and go over those spots one more time.
Graphite paper will usually leave a strong mark on the wood, but if you still want a more pronounced marking after tracing you draw directly onto the wood with a soft pencil after you are done.
How to transfer a pattern onto wood with baking paper
This is the method I always used when I was a kid. When using the see-through baking or parchment paper to trace a pattern or a drawing, I was suddenly able to replicate any pattern I would like.
You can even find an image on an iPad or computer and trace it directly from there. But be sure not to use too much pressure so you break the screen.
One thing to make note of is that this method will mirror the pattern. So it does not work that well with writing and so on.
1. Acquire Baking Paper or Parchment Paper, Soft Pencil, Wood, Tape, and Pattern
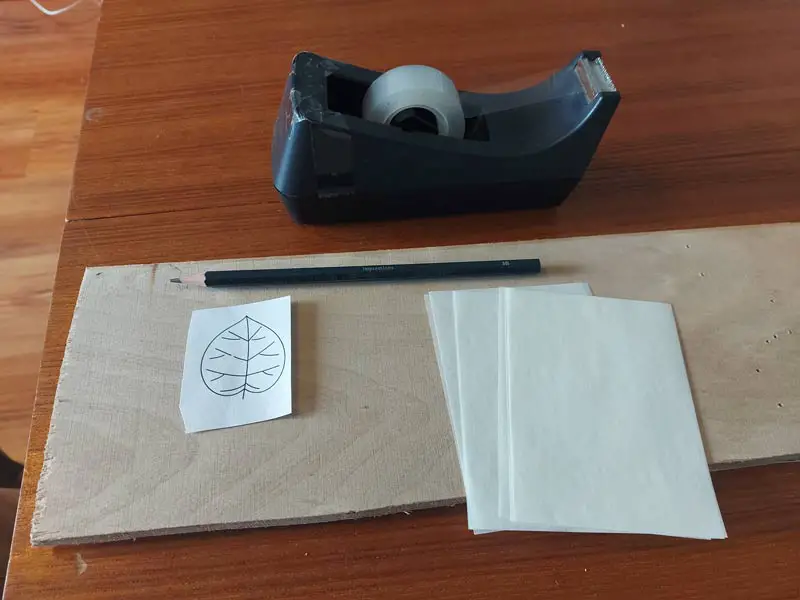
Baking Paper – We need a see-through baking paper that we can trace with. This is used to lay on top of the pattern while tracing. I’ll leave a link to the type of baking paper on Amazon here, so you can see what type of paper we are using.
Soft Pencil – We are going to use a soft pencil for tracing. A harder pencil like the ones we write will also work, but if the pencil is too hard then the pattern will be less visible on the wood. I like to use a pencil that is 3B or softer. A Ballpoint pen will not work for this.
Wood – A flat light-colored piece of wood works best for using this method. The darker the wood, the harder it will be to make a strong pattern.
Tape – Tape can come in handy when doing the initial trancing and transferring. This is to make sure that the paper does not change position while you work.
A Pattern – You also need a pattern to trace. I prefer to trace drawings or printouts but you can actually trace anything with a flat surface. You can even trace directly from your iPad if you are careful.
2. Trace The Pattern Onto The Baking Paper
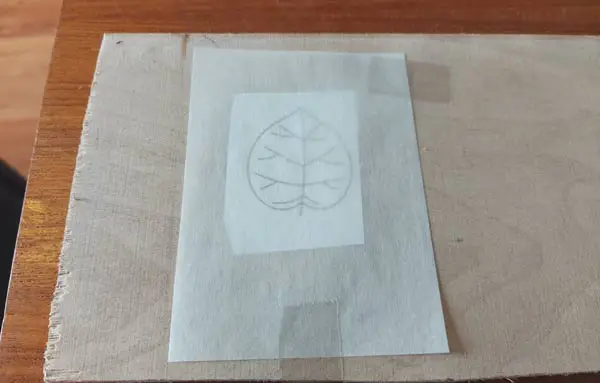

Now that we have all the equipment, we are ready to start tracing. I’ll go through the steps in a list form to make the process clear.
- Place the baking paper on top of the pattern
- Tape down the baking paper and the pattern so it does not move (optional)
- Start tracing with your soft pencil
- Use firm, long strokes, and scribble as little as possible
- When finished, lift up the paper slightly to see if you have missed some parts
- Remove the tape
- We are now ready for the last step
3. Scribble The Pattern Onto The Wood
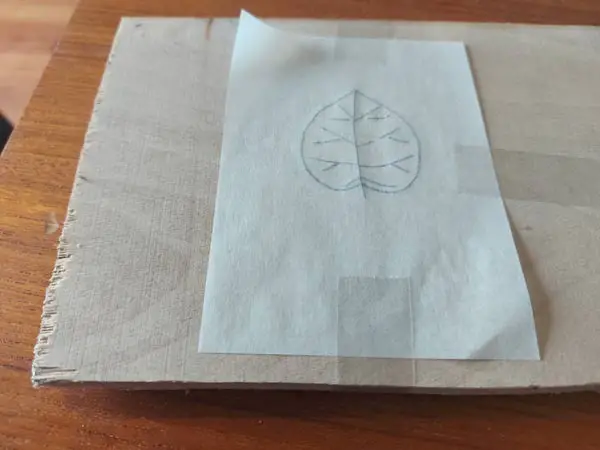
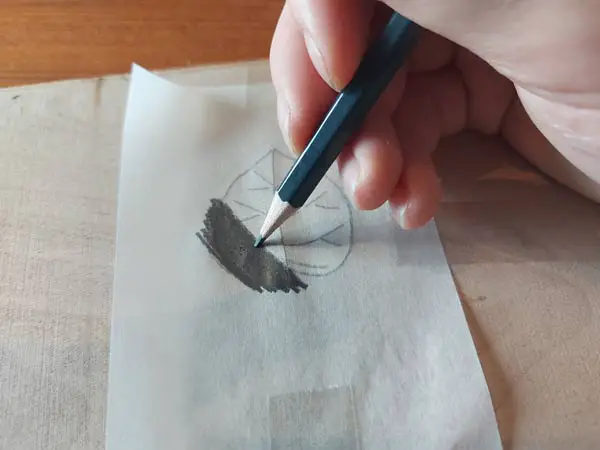
This is the most enjoyable part of the whole process. We are transferring the pattern to the wood.
Just place the baking paper on top of the wood with the traced pattern facing down.
If it is a big pattern it is a good idea to secure the baking paper with tape to avoid it from moving around.
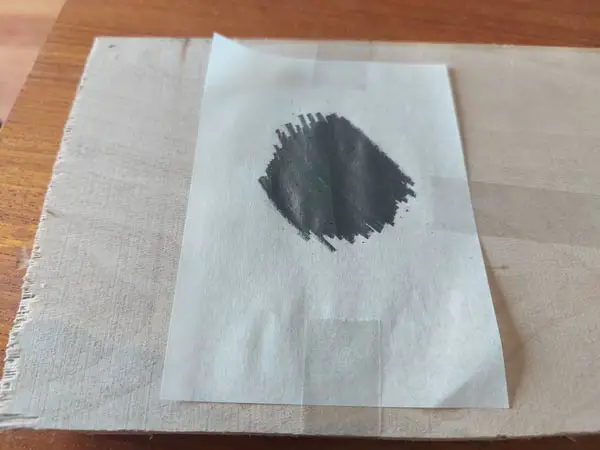
Then you take your pencil and scribble firmly on the backside of the pattern. Make sure to cover the entire pattern with scribble marks before lifting it up.
Now you can lift up the baking paper and the pattern will be transferred to the wood.
4. Finishing Touches
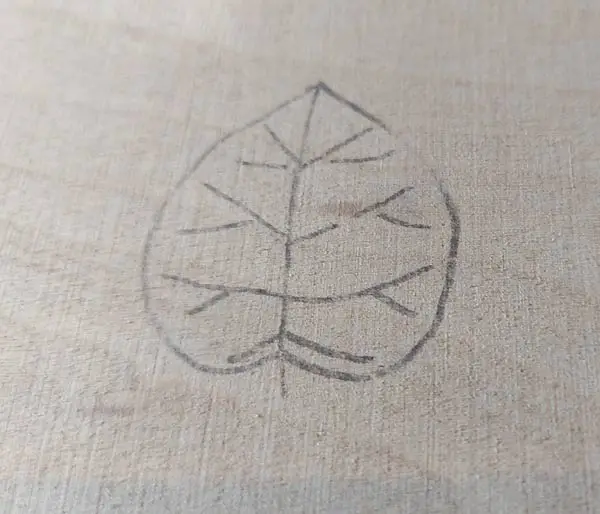
The transferred pattern will vary in visibility and quality depending on the softness of the pencil, the type of wood, and the amount of pressure used when scribbling.
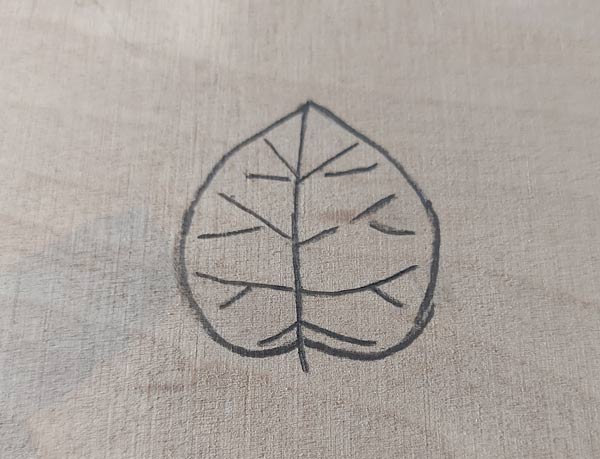
If the pattern is a little bit hard to see you can use the transferred pattern on the wood and retrace the lines directly onto the wood.