Disclosure: This post may contain affiliate links, meaning I get a commission if you decide to make a purchase through my links, at no extra cost to you.

Engraving and carving wood were traditionally done with chisels and gouges. But through the inventions of the modern age, we were afforded power tools like the Dremel which is one of the best power tools for engraving wood.
To engrave wood with a Dremel we trace a pattern onto a flat piece of wood with graphite paper. Then we use the Dremel with a small cutting bit running at high RPMs to cut the outline of our pattern, we remove the rest of the material with a more aggressive bit and finish off by sanding the rough edges.
There is a lot that goes engraving properly with a Dremel, like what Dremel to use, what bits to use, what attachments to use, and so on. I will teach you all of that and more in this article.
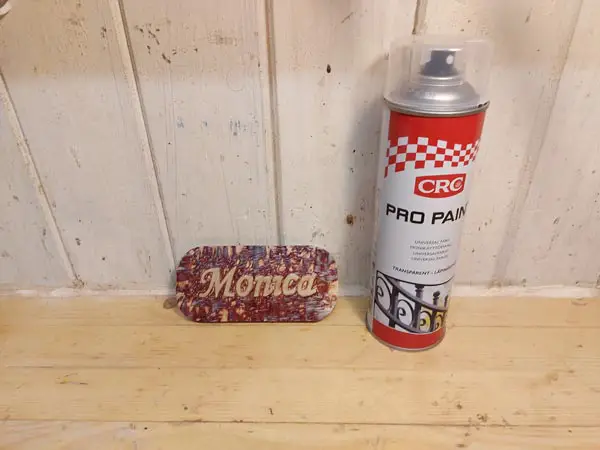
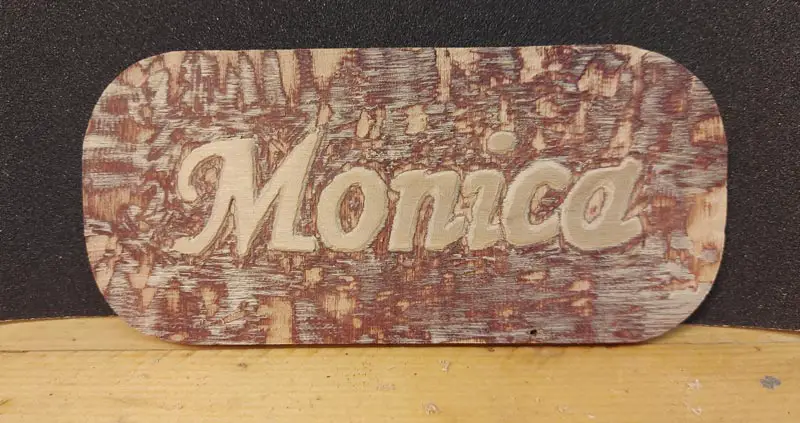
By the end of this article, you will easily be able to make the letters engraved in wood that you can see in the picture above.
How To Engrave Wood With A Dremel
1. Use An Agile/Light Dremel Model (Flex Shaft)
When engraving with a Dremel we want to be able to create smooth lines. To be able to do this the Dremel has to be light and agile.
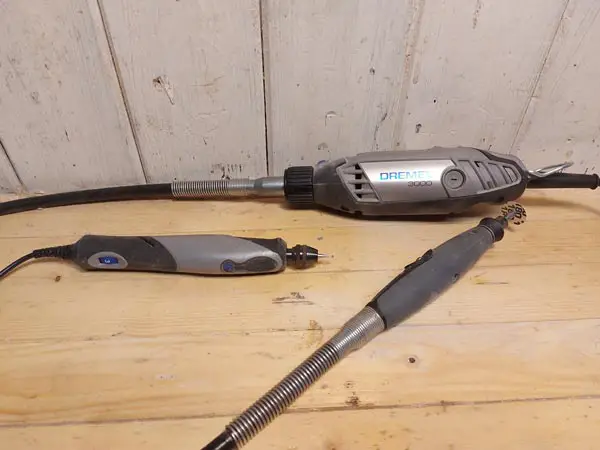
I recommend either using the Dremel Stylo+ 2050 or a Dremel model that can use the flex shaft attachment.
I use a Dremel 4000 with the flex shaft attachment, I prefer that combination because it gives me the power to remove a lot of material and a high rpm while also being light and agile.
Your wrist will also get tired fairly quickly when engraving with a Dremel, so the lighter the tool is, the better for your wrist.
2. Find A Flat Piece Of Wood
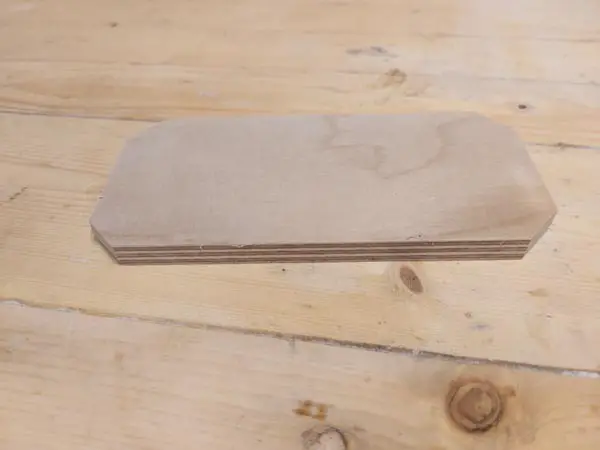
We need a piece of wood to engrave onto. A flat piece works best because it is easier to transfer the pattern to and is also easier to work with when engraving.
Choose a piece of wood that will fit the size of your pattern, or the other way around, choose a pattern that will fit your wood piece.
Preferably, the wood should have a light color so that the carbon paper we are tracing the pattern with will show well. But you can use other types of tracing paper for darker woods, like yellow tracing paper.
You can get flat pieces of basswood from Amazon, which is great for practicing engraving wood. Small wooden boxes are also a good option that is great to decorate with engravings and give as gifts.
In this article, I just use some baltic birch plywood that I had laying around. But be wary and well protected when using plywood because of some possible harmful components in the glue.
3. Safety Gear For Engraving: Dust mask, Goggles, Ventilation
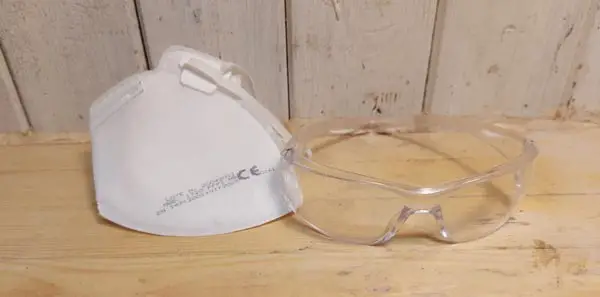
Dust Mask – A lot of dust particles will be produced when engraving with a Dremel. Use a dust mask for protection
Safety Goggles – Always use safety glasses when using a Dremel. Bits can come loose, the wood can chip, and when engraving you often get your eyes very close to the running tool.
Ventilation – Being in a good ventilated area and having some sort of dust collection really helps. Open windows, turn on a fan and remove dust frequently.
4. Choosing A Pattern/Text

You most likely have a pattern in mind you want to trace. We want this pattern on paper as a drawing or print so we can trace it onto the wood.
A little tip for generating and printing text is to just use any editing software that can edit text (word, Photoshop, Paint), choose a font you like, adjust it to size, and print it out on your printer.
There are a lot of free fonts you can download on the web for personal use.
5. Trace The Pattern (Link to article)
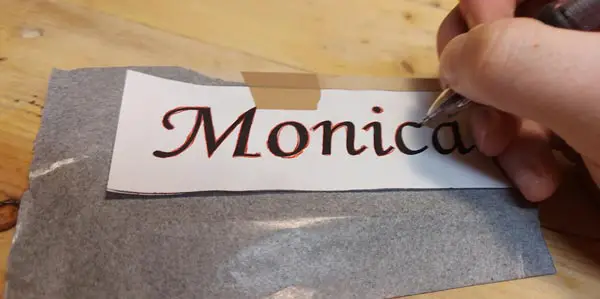
The wood and the pattern are ready and we are now ready to trace. We are going to use some carbon paper to trace the pattern onto the wood.
I have made a detailed article on how to trace patterns and text onto wood with carbon paper: Check It Out Here
Here is a quick summary of that article:
- Tape down the printed pattern to the wood
- Place the carbon paper underneath the pattern (carbon side facing wood)
- Start tracing the pattern with a bright colored pencil
- Check for missed areas
- Retrace when the printed pattern is removed to enhance visibility
There is also a DIY method in the article if you do not have carbon paper.
6. Engraving Bits For The Dremel
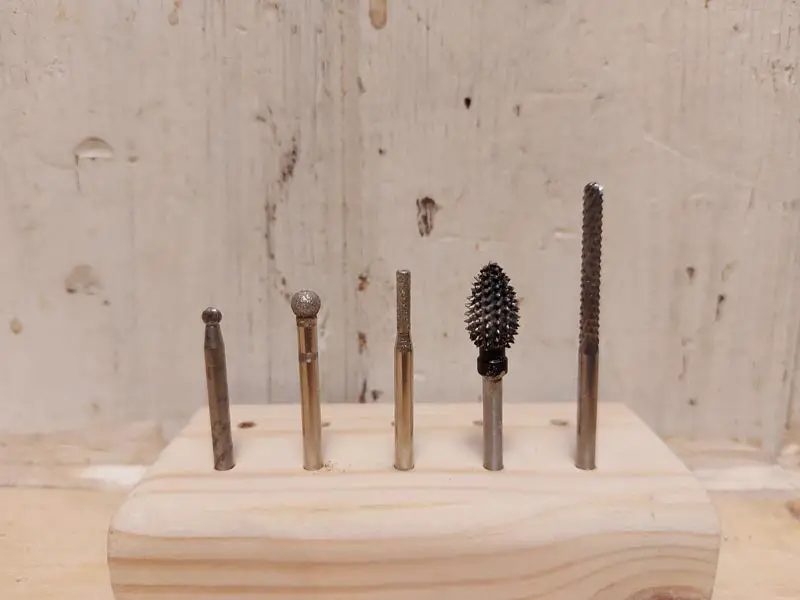
The best bit for engraving wood with the Dremel is the #106 and #107 engraving bits. These bits are good for tracing an outline of the pattern. Both bits have the same shape but the #106 engraving bit is smaller which removes less material but provides a more detailed cut.
When you want to remove larger amounts of material you can use a wide range of other bits. My personal favorites are the #562 Tile Cutting Bit or the Kutzall Extreme Flame Burr.
A set of small diamond-coated bits will also come in handy for cleaning and getting into those tight corners.
Sanding discs and sanding drums can be used for cleaning up uneven surfaces as a finish.
7. Trace The Outline Of The Pattern


In this engraving, we will make the text/pattern protrude from the wood surface. To make this happen we need to trace all the outer lines of the pattern.
Use the Dremel #106 or #107 engraving bits to trace the outer lines of the pattern with a steady hand. In the beginning, it is going to be hard to do straight lines, but that is very much a skill that comes with practice.
Try to follow the lines to the best of your ability, and don’t worry too much if the bit goes off course sometimes. Just keep on going and we’ll fix the mistakes later.
When tracing you usually want to use a high rpm setting. Anywhere from 20 000 to 35000 RPMs. The reason for this is that the wood has a tendency to lead the bit in certain directions when cutting, which makes it hard to follow the line. Using a high rpm gives you more control over the bit.
8. Remove Material With More Aggressive Bits

When we are done with the tracing, it will be easy to remove the rest of the material around the tracing. This is the most enjoyable part of making the protruding pattern in my opinion, it really makes the pattern pop out at you.
Use the Tile Cutting Bit #562 or a kutzall extreme burr to remove the bulk of the material around the pattern. Go as deep as you prefer. Since I am using plywood I just remove the top layer.
In the smaller holes and corners of the pattern, you can still use the #106/#107 engraving burrs.
There are many other types of burrs and bits you can use, these are just my favorites. Some other options are rough grit sanding drums, saburtooth burrs, aluminum cutting bits, carbide bits, and so on.
9. Clean Up Edges With Sandpaper
When you are finished with the design you can clean up the surface and edges of the pattern with sanding paper of some sort.
You can use a flat sanding disc with the Dremel for shaping edges and covering larger surfaces, sanding drums are great for flat surfaces and edges, and buffing pads will leave a good sheen to the wood.
You can also just sand the project by hand with some soft fine sandpaper.
Sanding by hand is the best way to create smooth even lines
The amount of sanding you will have to do depends entirely on the end product you want and will be different for everyone. I wanted to leave the brown glue, and the rustic look of the plywood in this project, so I did not sand that much.
I just used a flat sanding disc on the Dremel to quickly smooth out parts that I did not like.
10. Finishing
For finishing, I simply apply some cheap clear spray lacquer that I got at my nearest hobby store. I usually give it about 2 to 3 coats.
When using spray lacquer be sure to be in a well-ventilated area and use the proper safety equipment.